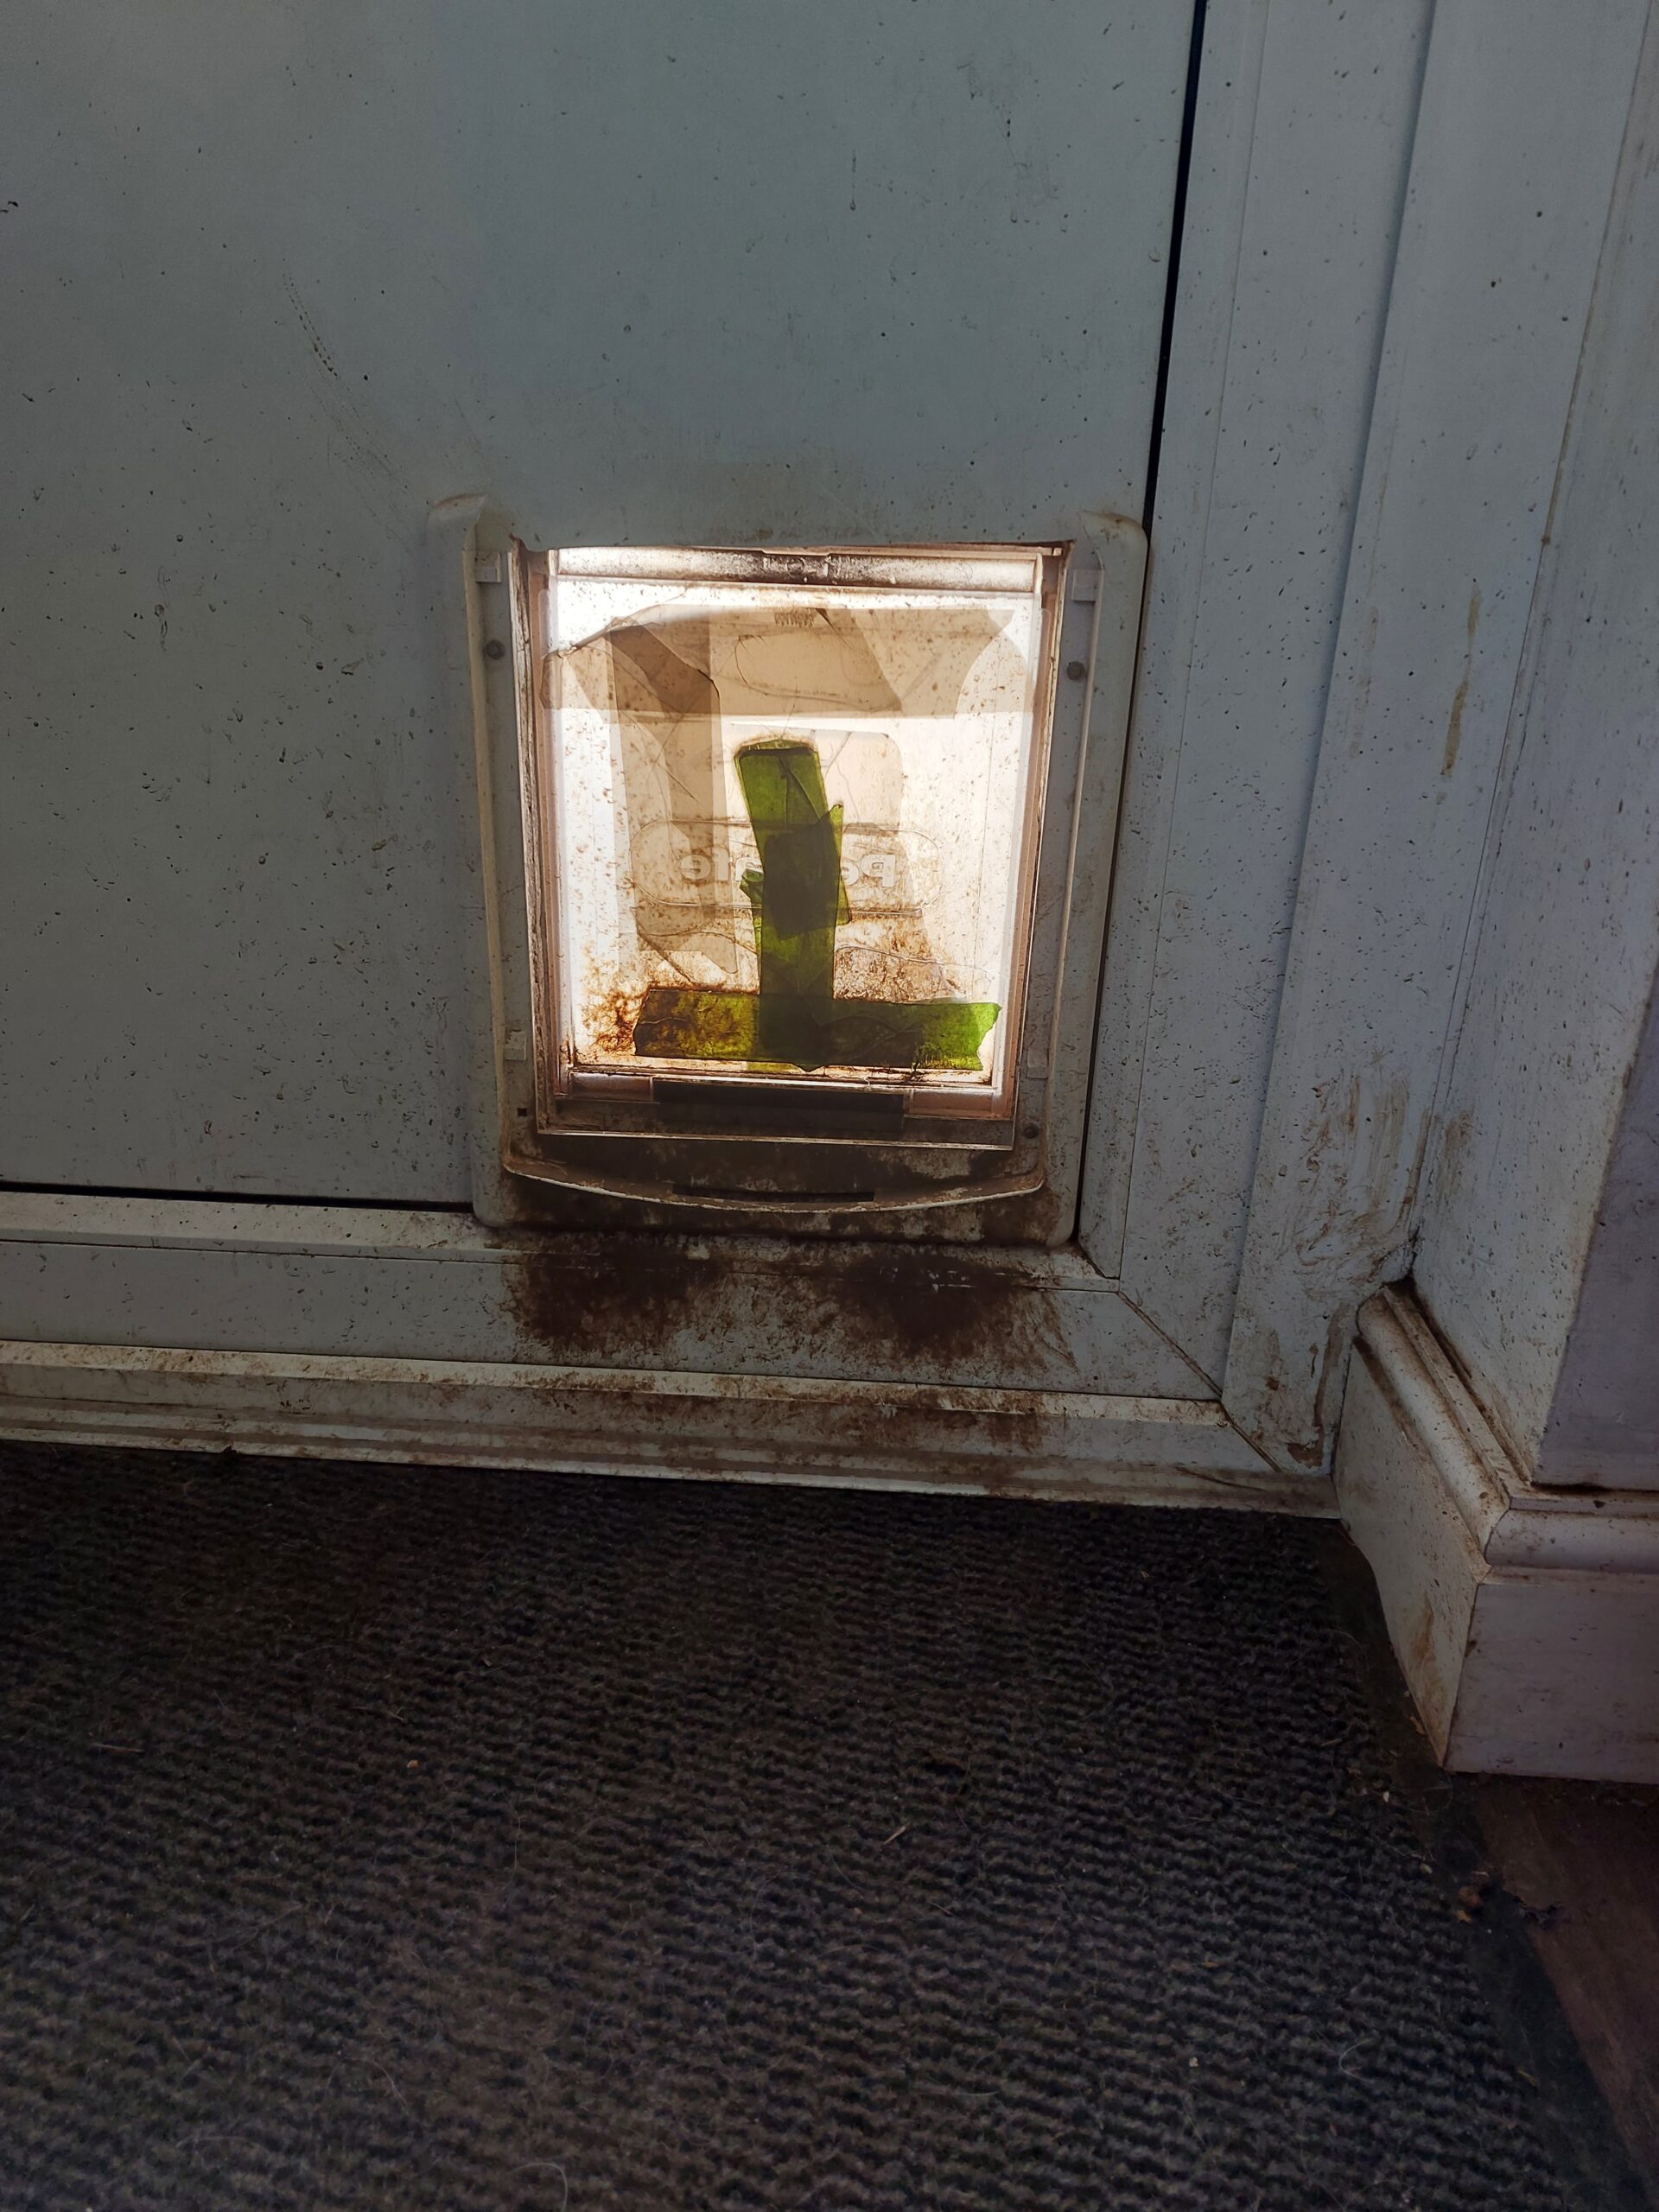
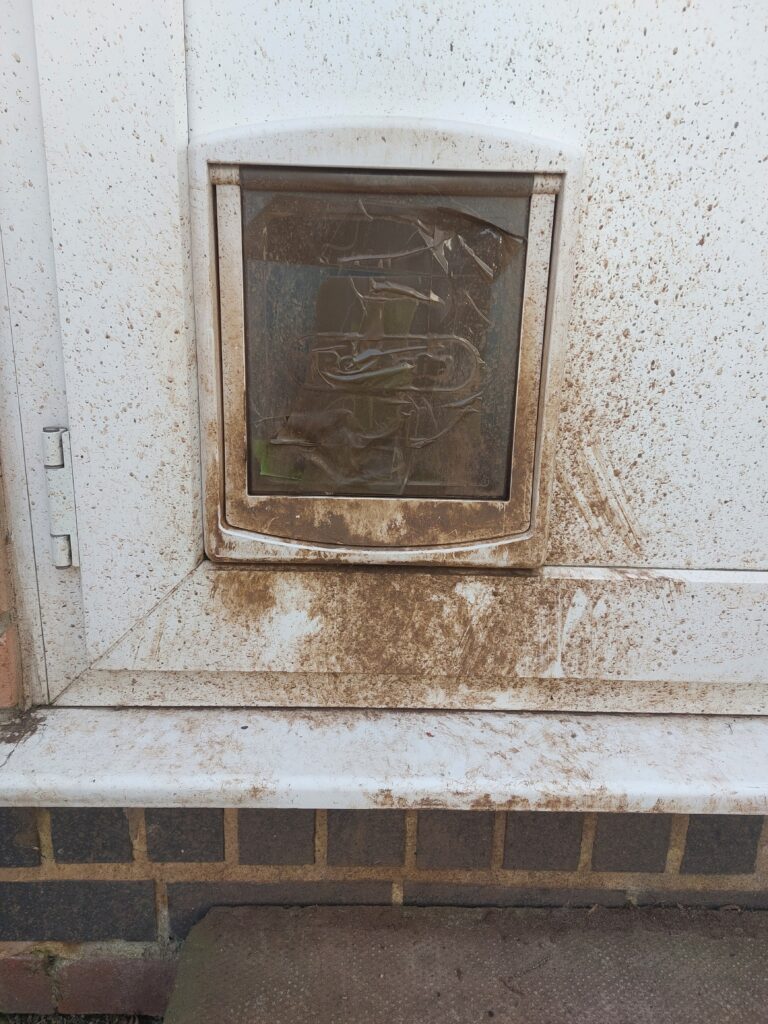
I think it’s been about a year since I replaced the dogflap. It was a straightforward swap/replace: same make, same model, same size. The only thing I had to remember was that I used non-standard bolts because the ones that come with the dogflap are too long. And, being too long, we couldn’t slide the locking flap panel into the runners (and we do, occasionally, lock the furry little darlings into/out of the house). Anyway, in the last year we have acquired two more spaniels who, by the way, are now nine months old. Nine months! Where’s the time gone?). The trouble is the new spaniels, being pups, are full of energy and also full of a lack of care/respect/health and safety thinking. So they crash through the dogflap at speeds approaching supersonic (or thereabouts). This means they’d properly cronked the old dogflap. It was held together by bits of tape and dried mud. Before I did the job it looked like this:
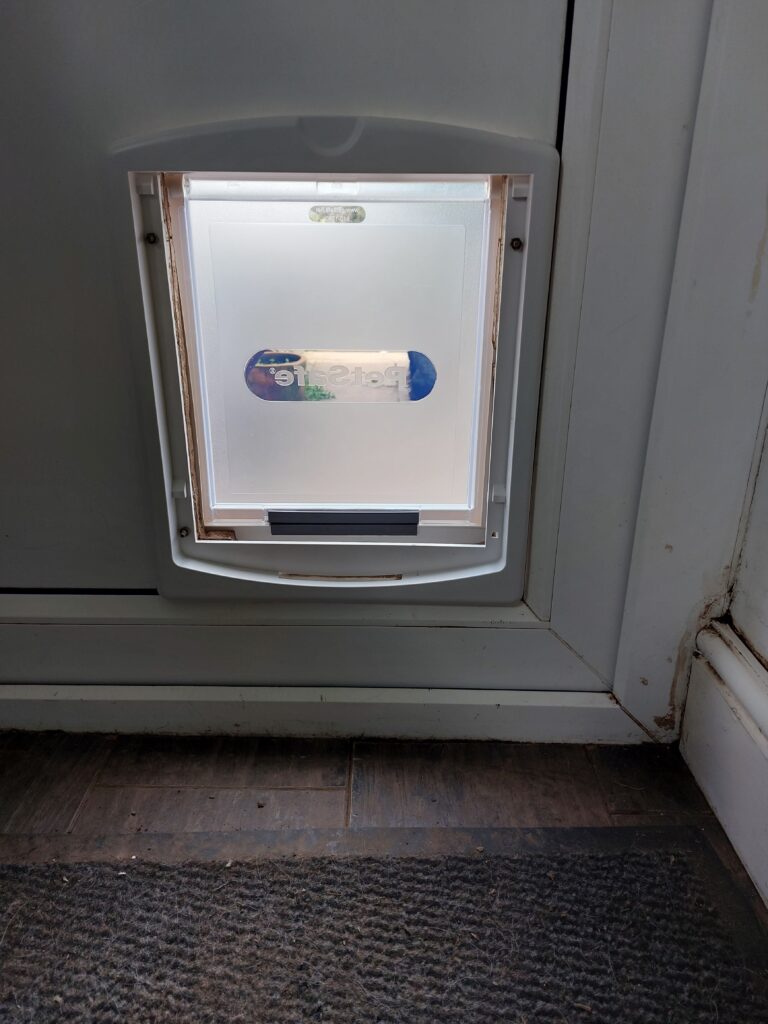
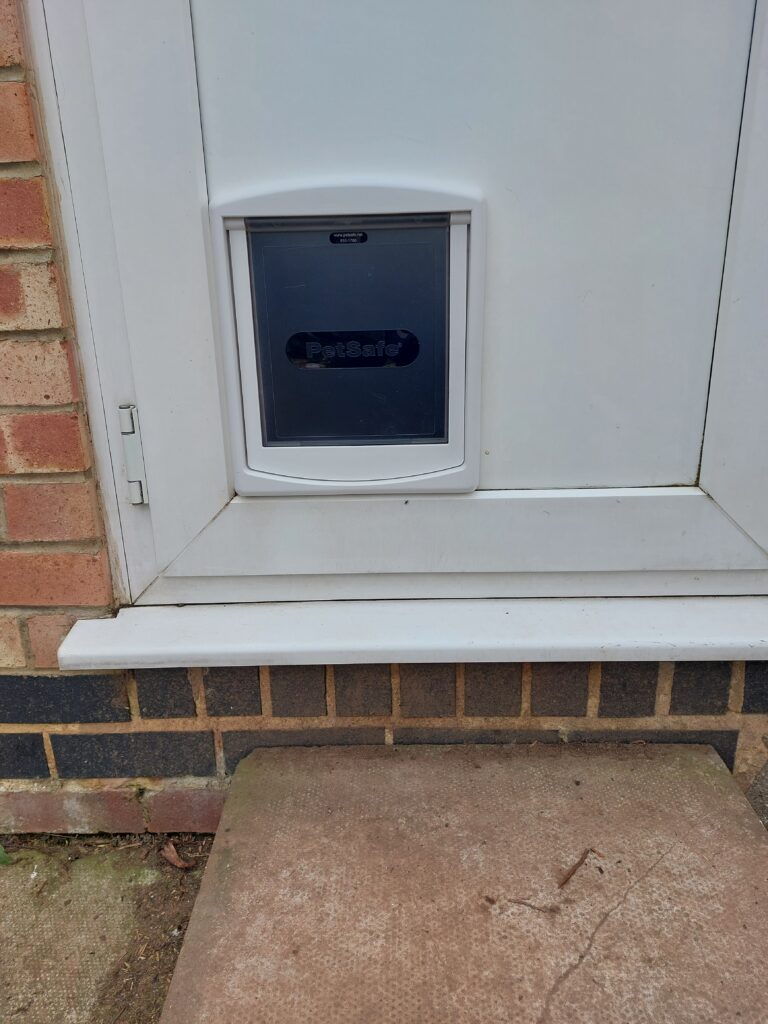
And after the job had been done it looked like this:
Dear Captain DIY,
Sorry, not very helpful for me: if I put in a flap for my dog, I’d lose half the door.
Still waiting for the How To Re-Lay a Patio instructions.
Dear Worried of Somewhereshire. I understand your concern. Some might say to lose half a door is an act of carelessness, but I do sympathise with your dilemma. However I have a solution to your problem. You should turn the entire bottom half of your door into a dogflap. That way you not only give your dear doggy 24/7 access to the garden to bite, chew, and chase things in, you’re also giving your lovely home a new feature. Please keep us updated as to your progress!